User interaction and Controls
Main buttons:
1. + New Experiment
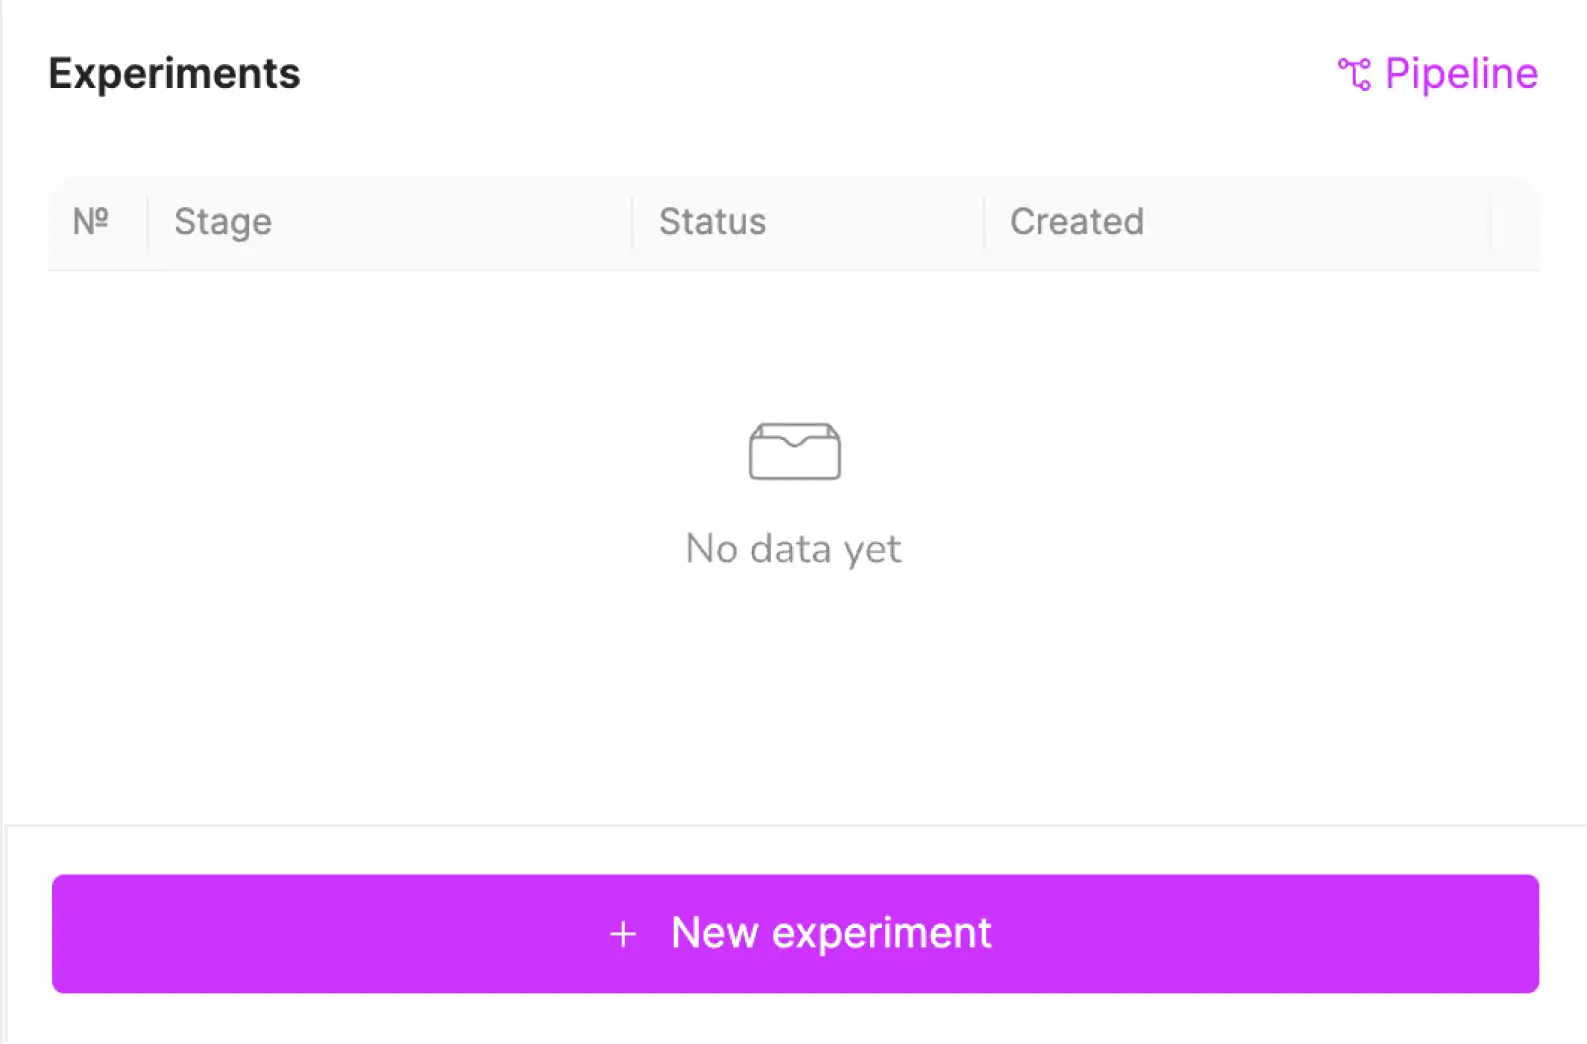
- Creates a new experiment within the current project.
- Allows you to work with a protein using different approaches and settings.
2. Start

- Launches the current stage, initiating the selected computational process.
- Must be pressed after setting up parameters to begin execution.
3. Stage Settings

- Allows users to customize the process by adjusting various parameters before execution.
- After a stage is completed, it can also be used to review the applied settings.
4. Next Stage

- Moves the experiment forward through the pipeline to the next stage.
- Available only after the current stage is successfully completed.
5. Recreate Stage

- Provides the ability to re-run a stage with modifications.
- All existing experiments will be saved, and data will not be lost. A new copy of the experiment will be created instead.
Offers two options:
- Different step results – Creates a new experiment where you can select a different result from this step.
- Different starting parameters – Creates a new experiment where you can modify starting parameters before execution.
6. Stage Results

- Saves the results of the current stage to your computer.
- Downloads the output in a ZIP format for further analysis or storage.
7. Stage Settings (Post-execution)

- Displays the applied settings for the completed stage.
- Allows users to review how the stage was configured after execution.
3D Workspace Interaction guide
-
Right-click (RMB) and drag to rotate the 3D scene around the center of workspace.
-
Left-click (LMB) and drag to pan the view horizontally or vertically.
-
Adjust fog intensity/Depth cueing – Hold mouse wheel (MMB) and move the cursor up or down to increase or decrease the fog effect in the 3D scene.
-
Scroll the mouse wheel to zoom in and out smoothly.
-
Switch between three visualization modes for different structural representations:
- Cartoon – ligand and surrounding residues are shown in ball and stick while other residues shown in secondary structure representation.
- Ball + Stick – all atoms shown in ball and stick.
- Electrostatic – surface charge visualization.
-
Toggle different molecular elements through the "Elements" panel for a customized view.
- To display a molecule in the 3D Workspace, click on its row or the eye icon.
- Double-click the eye icon to pin the structure, keeping it visible while navigating other molecules.